

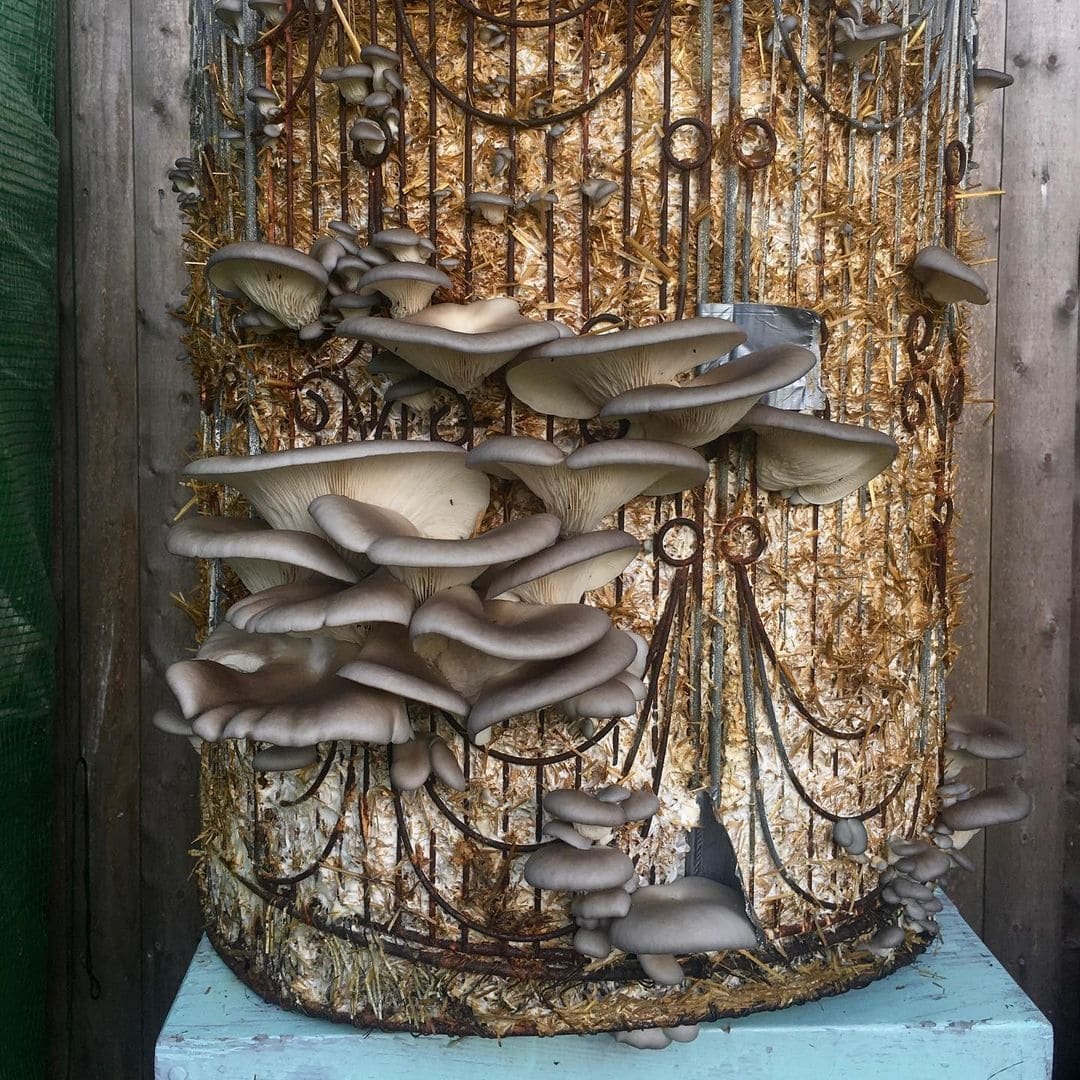
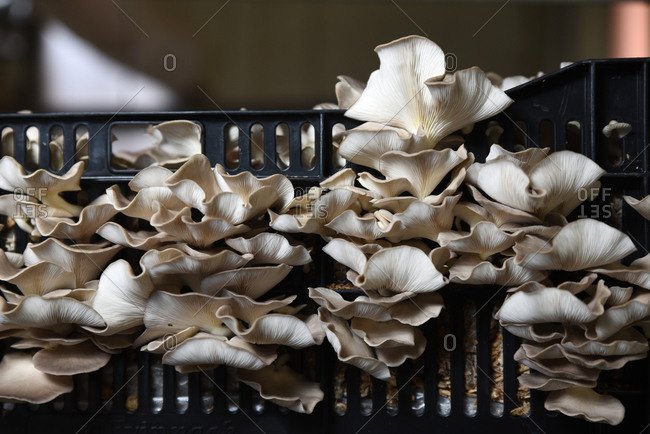
This video will show you how to grow oyster mushrooms on straw bale in containers.
MATERIALS NEEDED:


Substrate: Straw Bale
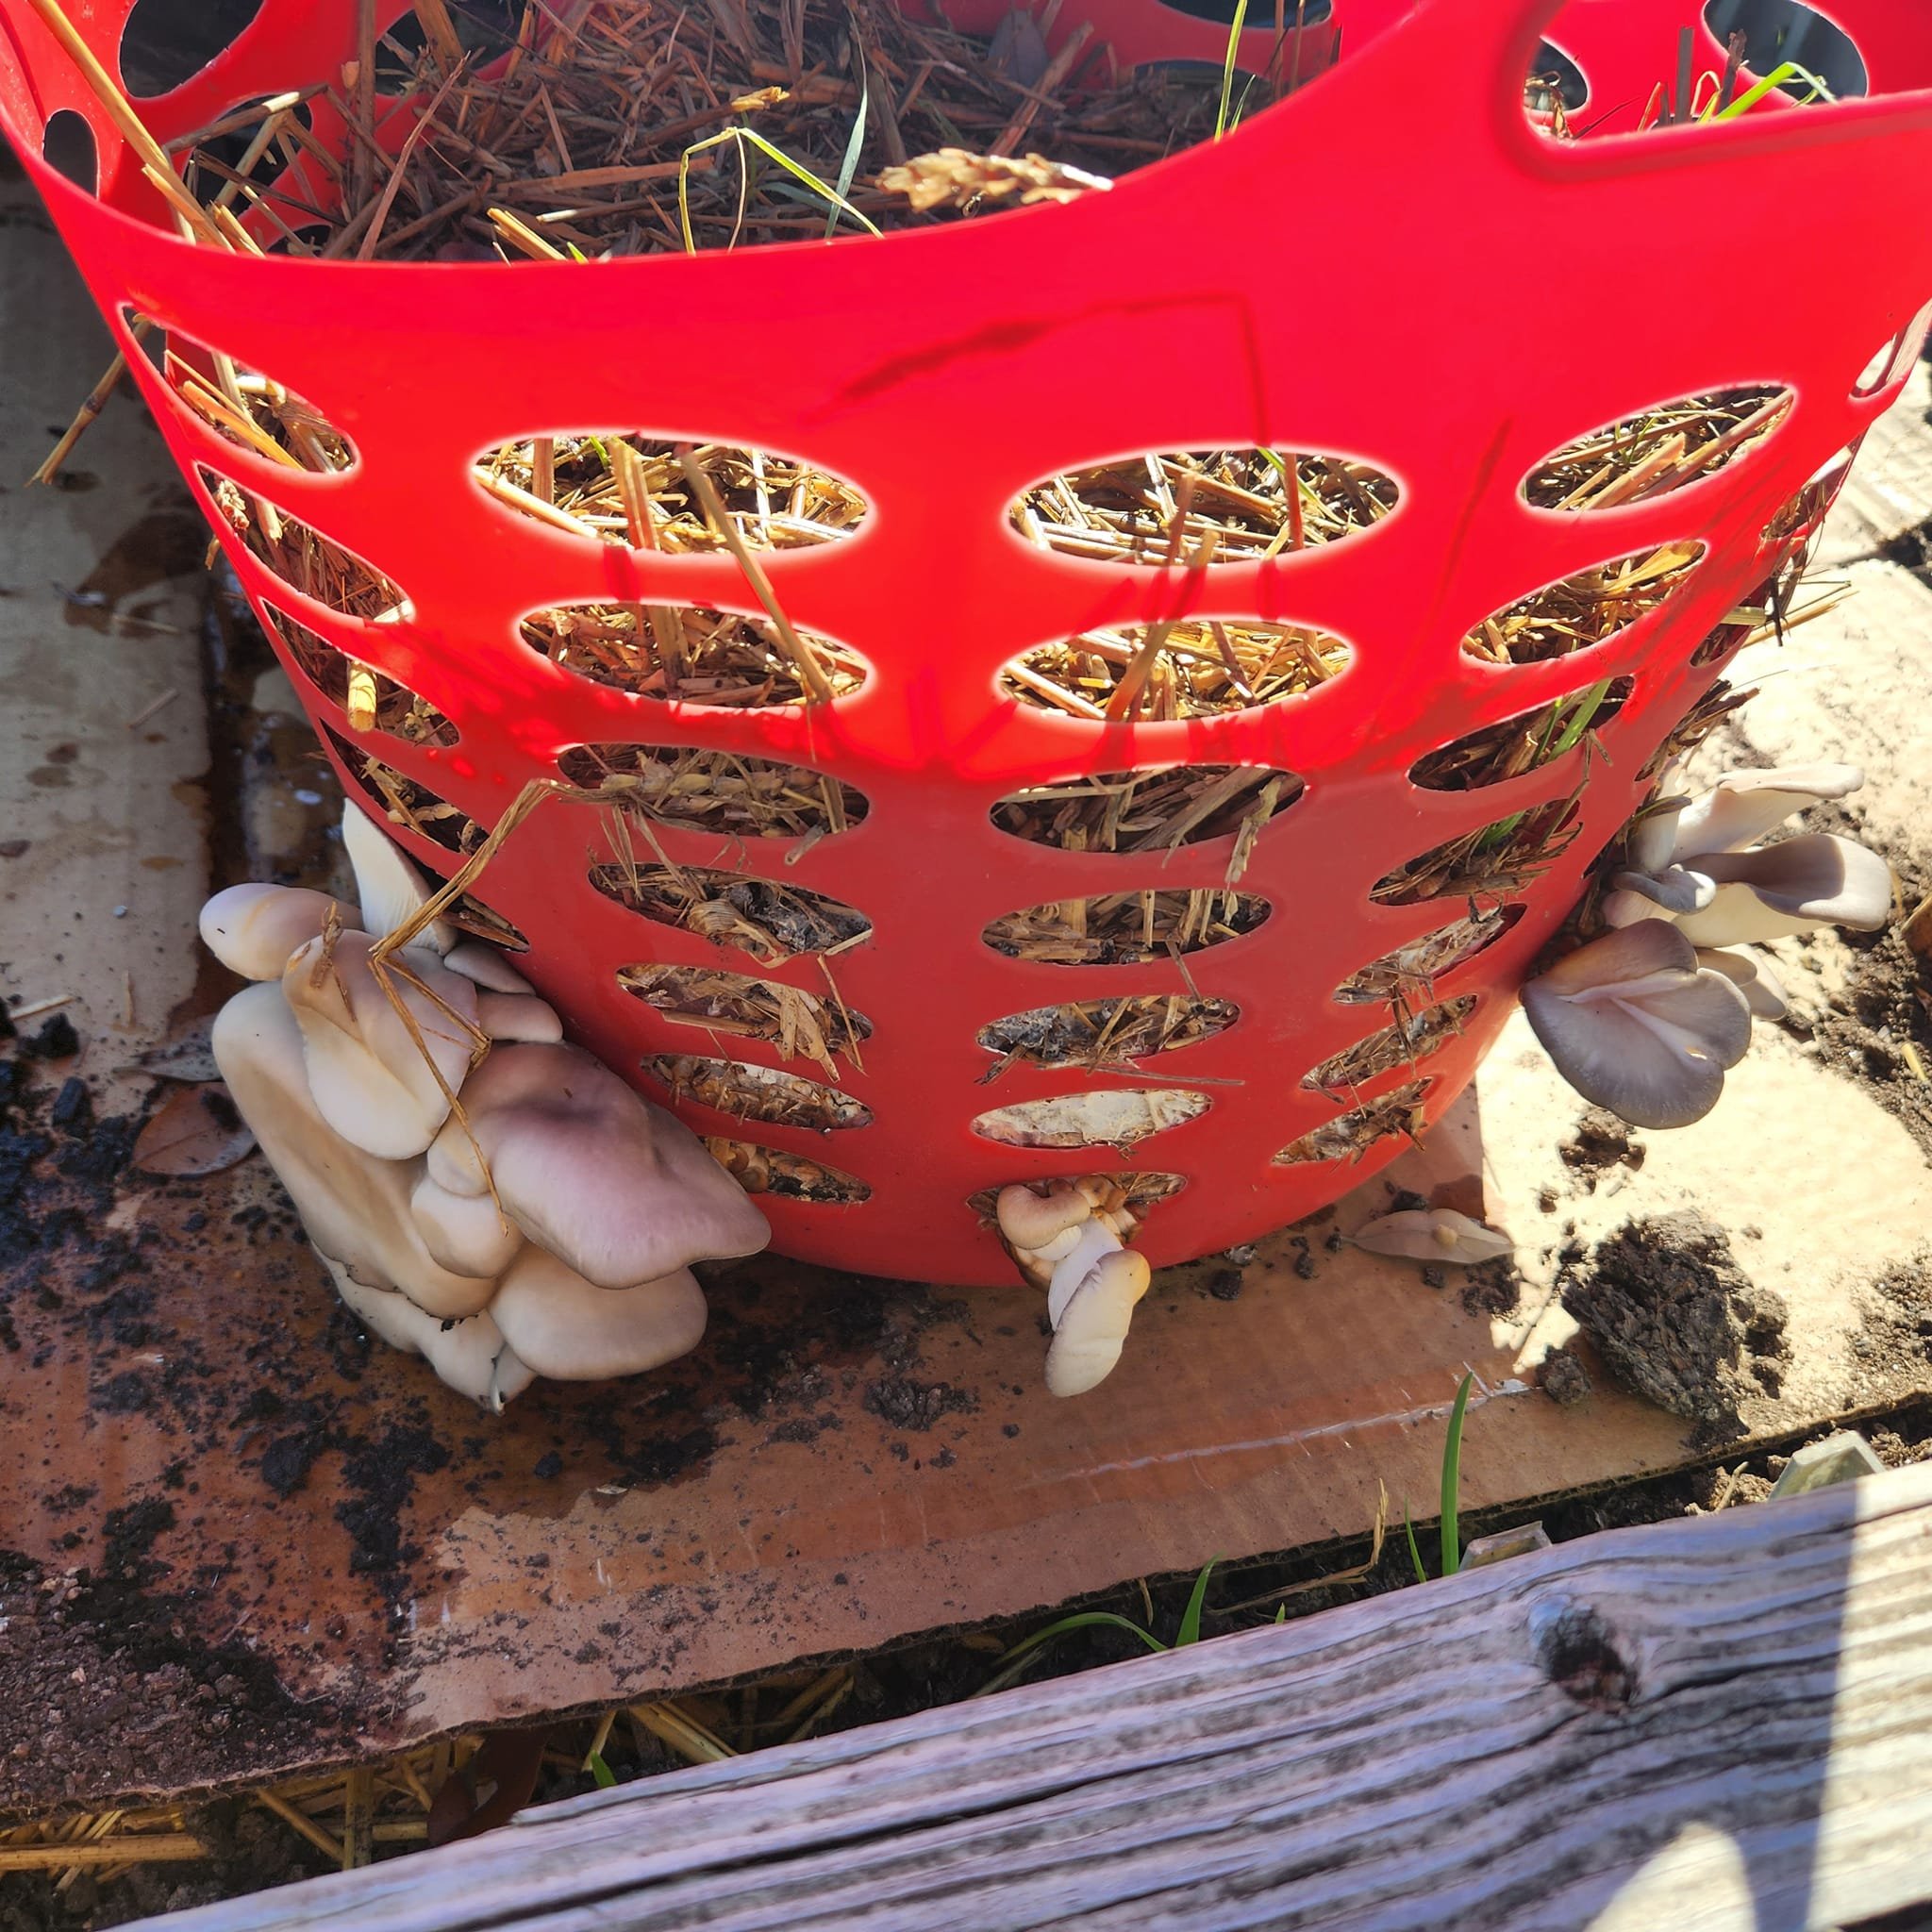
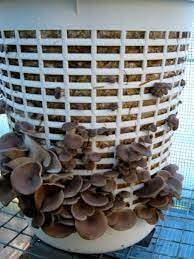
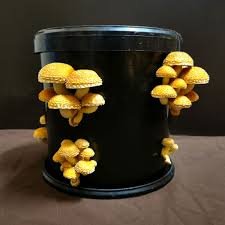
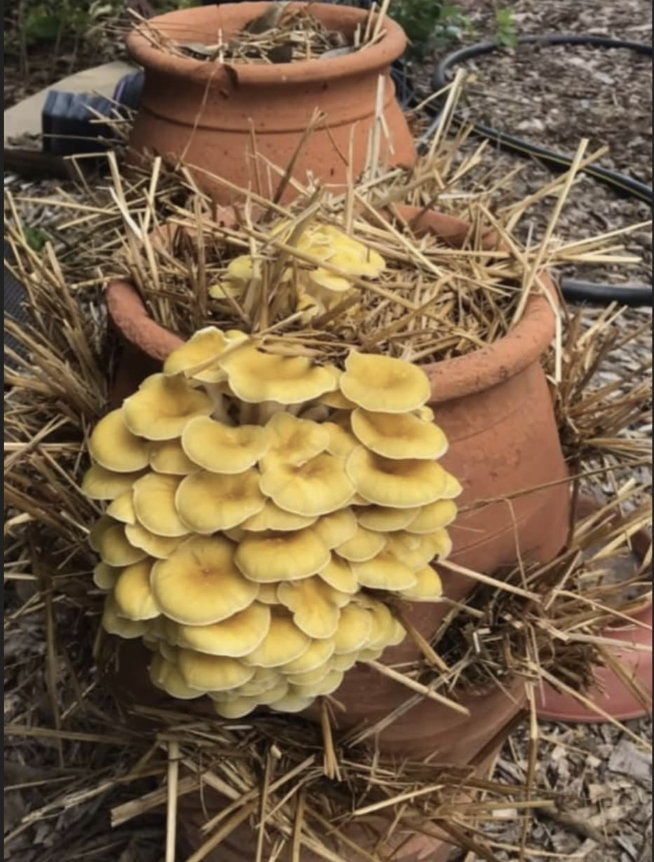
Container: 5 gallon bucket, planter pot, laundry basket, milk crate, or crate for vegetables, wire mesh container like a bird house, strawberry pot. Any container with holes in it will work. Do not buy anything new, there are many ways to recycle and use these materials.
Tools: Drill, Step drill bit, Alcohol, Soap & Water
Spawn: We recommend blue oysters spawn because it does best in a non-sterile environment.
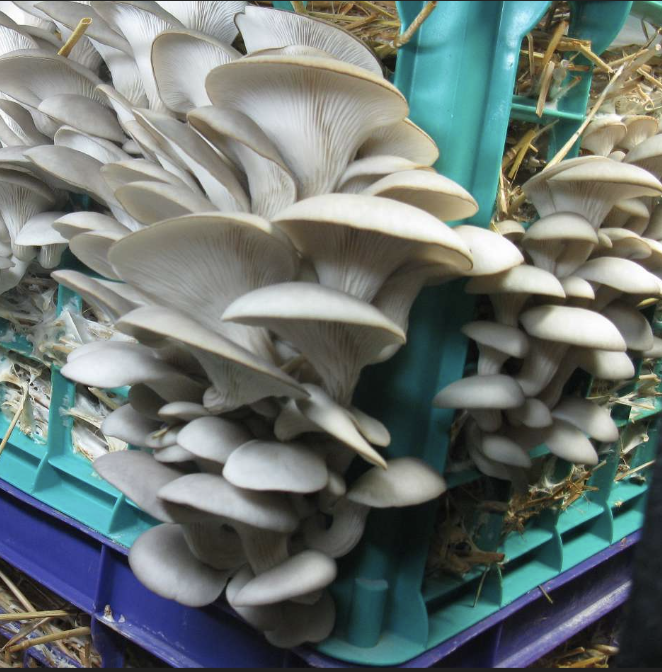
Oysters (Pleurotus ostreatus): Oyster mushrooms grow well outdoors and readily outgrow competitors and potential contaminants. This mushroom grows in several bright colors such as pink, blue, and yellow. Blue tends to be the best for growing outdoors. The taste of oyster mushrooms is very mild, and some describe it as subtly woody or like seafood. Oysters grow in partial shade and prefer straw to denser woody substrates.
GET MUSHROOM SPAWN FOR FREE
Many times mushroom farms have used sawdust blocks that have grown mushrooms once, and then end up getting tossed in the waste stream. Check with your local mushroom farm to see if you can help them reduce waste and use the spawn in your organic garden. If you are in Austin, we are collaborating with a new local mushroom farms to help keep used mushroom blocks out of the waste and help get them into gardens around Austin and building healthy soil!
The mushroom blocks are for free but you can also support our mission of helping the crew that is making sure they stay out of the waste by making a donation or becoming a member.
I’m NOT from Austin
I’m from Austin
GROWING STEPS
STEP 1: Soak substrate. Soak substrate for 2-5 hours so it becomes nice and hydrated, then drain. Oyster mushrooms are very robust and can do great on unpasteurized substrate regardless if it’s cleaned. Cold water lime pasteurization is recommended when temps are over 80 degrees.
STEP 2: Drill holes in your container. If your container doesn’t have holes in the side, make a few for drainage and for the mushrooms to emerge from. Drill in a diamond pattern about 6 inches apart. Do not drill holes in the bottom. Step drill bit of 1 or more inches is the best size.
STEP 3: Sterilize your container. Wash with soapy water and then with rubbing alcohol or hydrogen peroxide.
STEP 4: Mix the spawn and substrate. Mix spawn nicely with the substrate. 1 /4 spawn / substrate ratio is good but if you have an abundance 50/50 is good too. You can’t go wrong with more spawn.
STEP 5: Fill your Buckets. Make sure to leave a little breathing room for the oyster mushrooms, water.
STEP 6: Create Humidity Place a lid or piece of cardboard on top on to keep things moist. Cover the hole with micropore tape or simply put your bucket in a large cardboard box, plastic bag or an area where moisture is retained but air exchange can still happen.
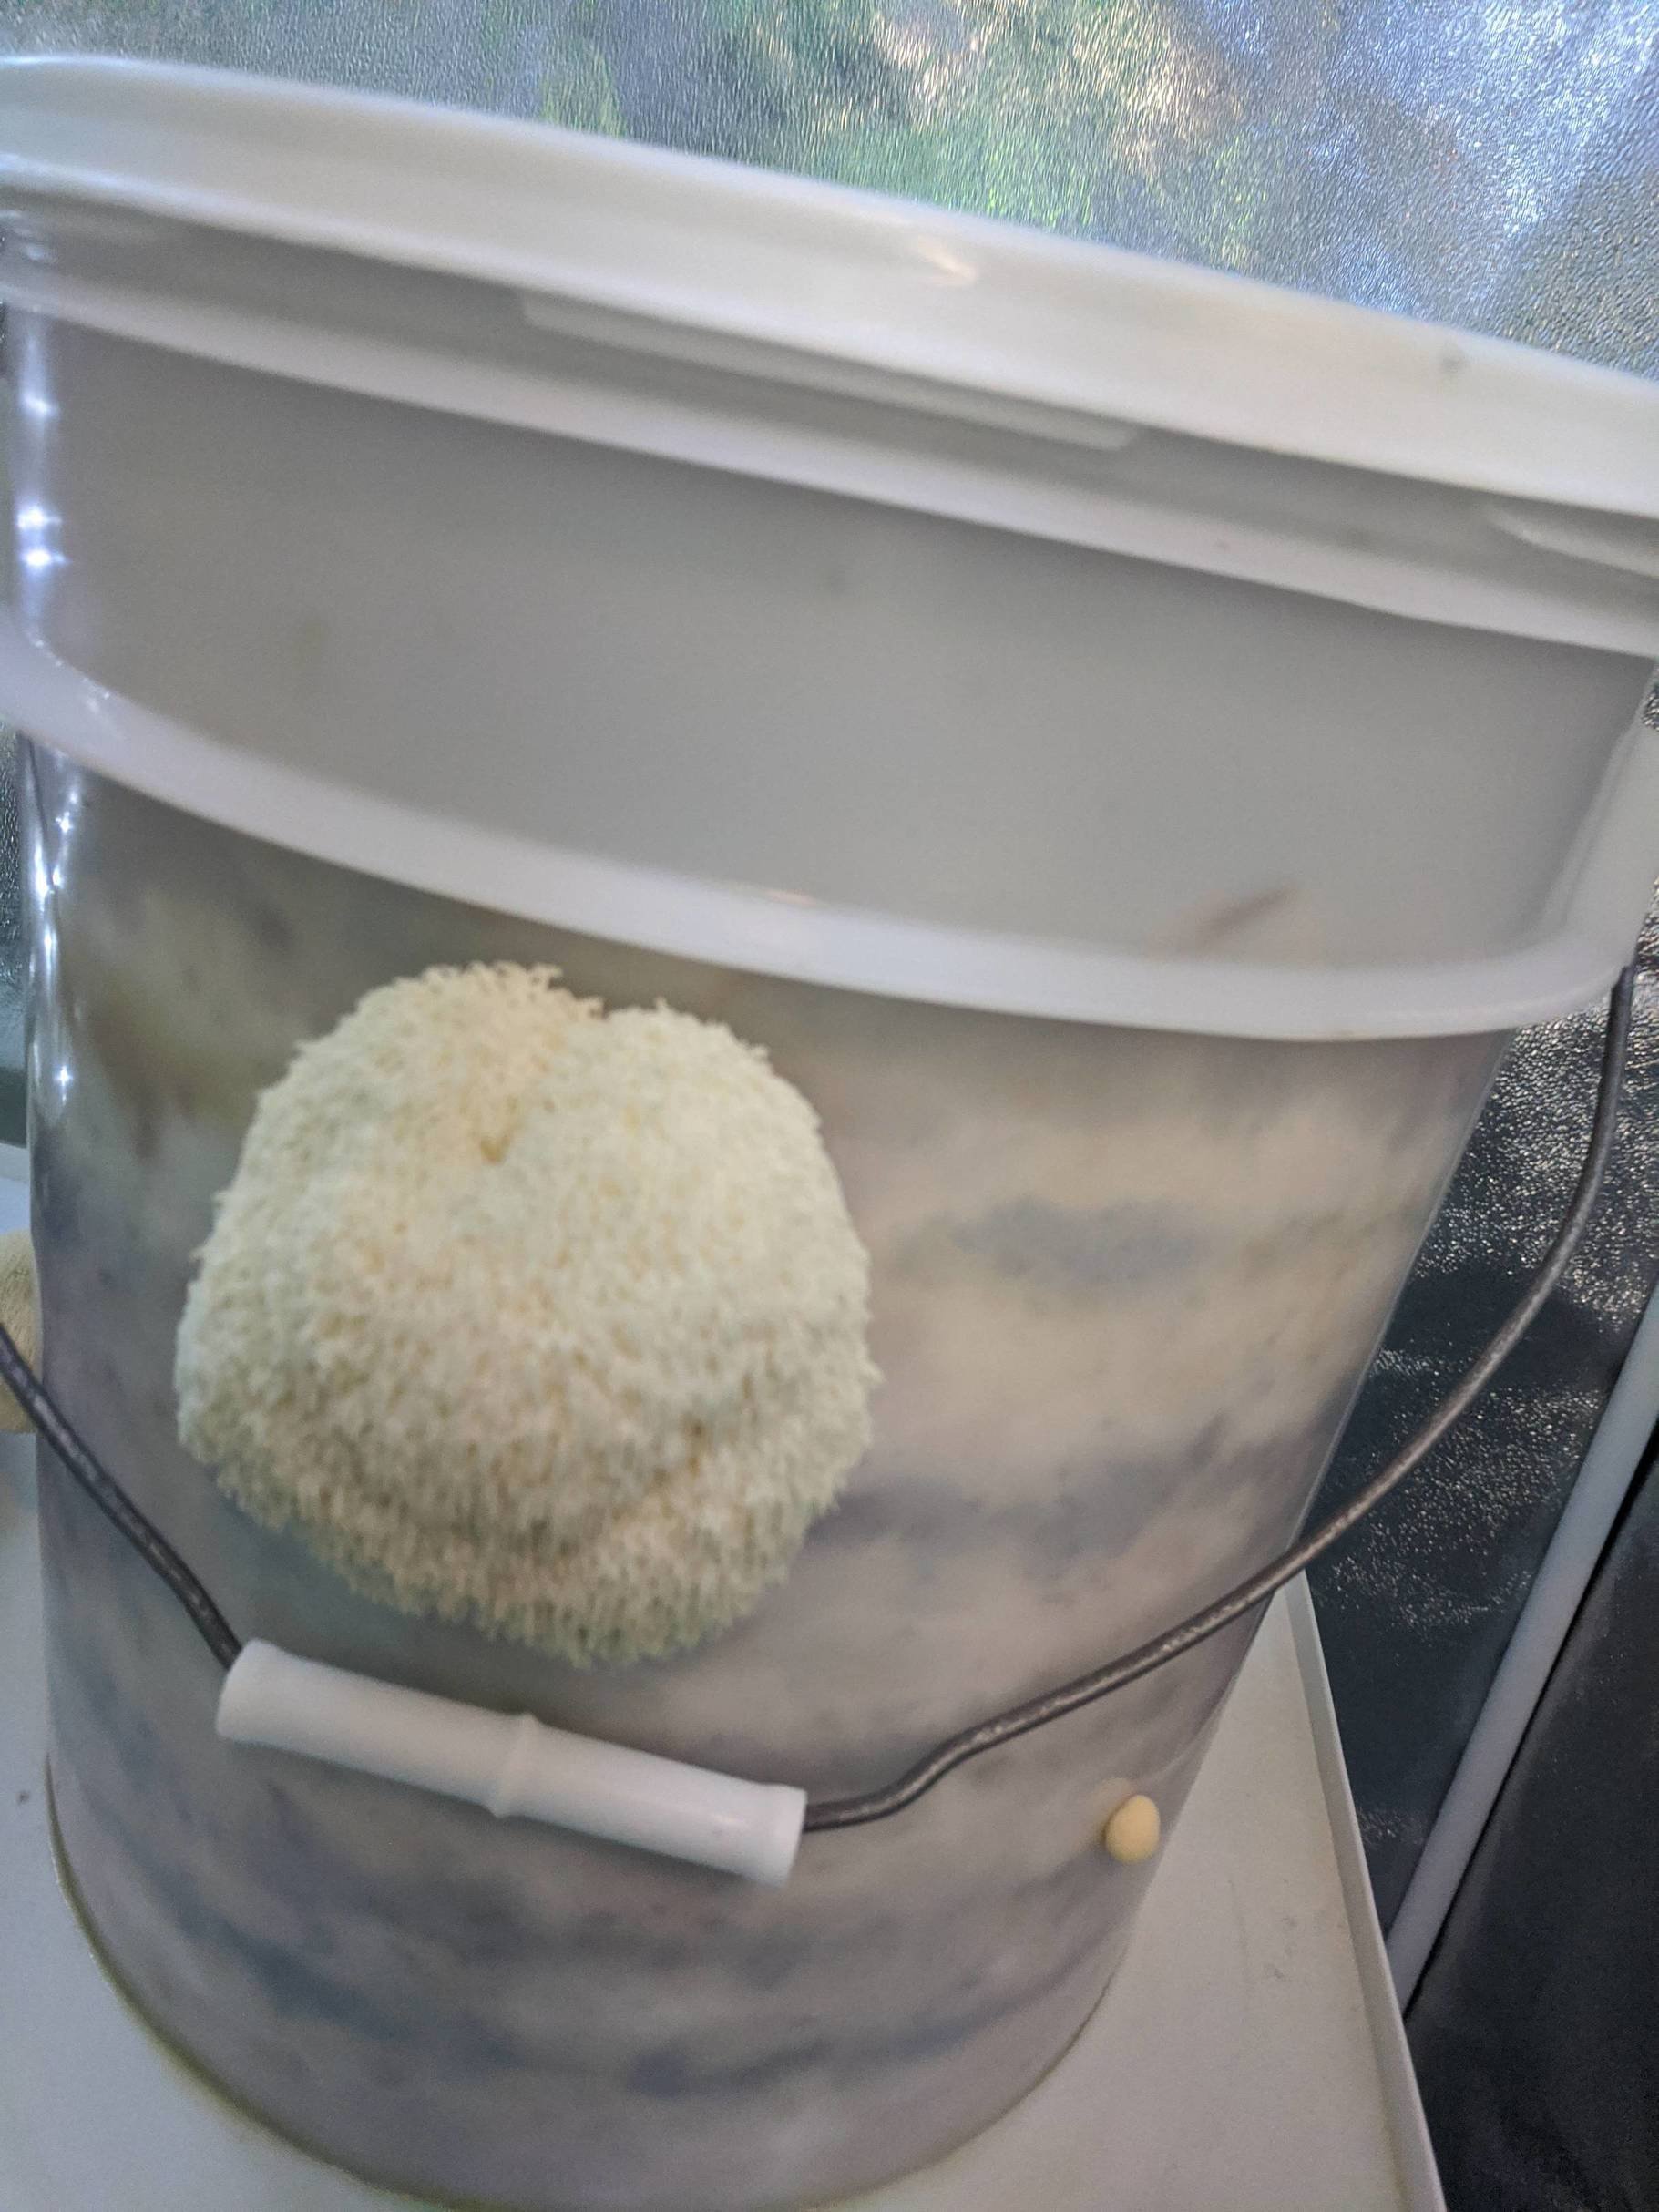
STEP 7: Colonization During colonization you will want your container to be in a shady to dark place where moisture will be retained. For the next 3-4 weeks your bucket will colonize start to consume and eat the substrate.
STEP 8: Water once a week. Water as needed to keep the media from becoming dry and hard. Do the finger test and be sure you don’t overwater because this will cause mold to grow. If you see mold, scoop it out and spray area with hydrogen peroxide.
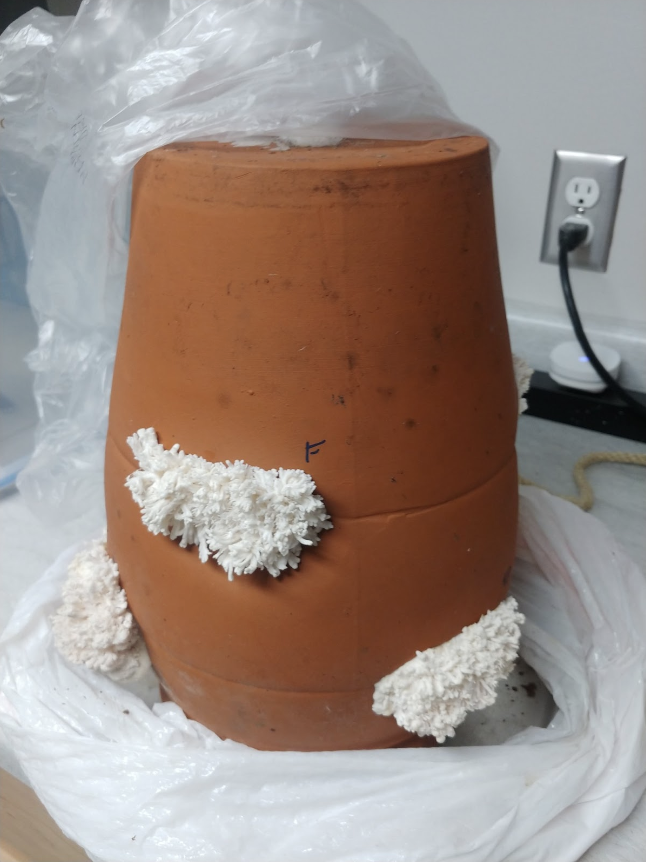
STEP 9: Pinning After 4-5 weeks you will start to see pins or baby mushrooms. At this point you want to make sure your container is getting as much oxygen as possible. Remove plastic bag or micropore tape. The bucket also needs light so it can absorb the UV and convert into Vitamin D. A dapple amount of light is enough.
STEP 10: Spritz Baby Mushrooms Spritz the mushroom as 2-3 times a day. The more the better. Mushrooms are 70% water just like humans so they need a lot of humidity.
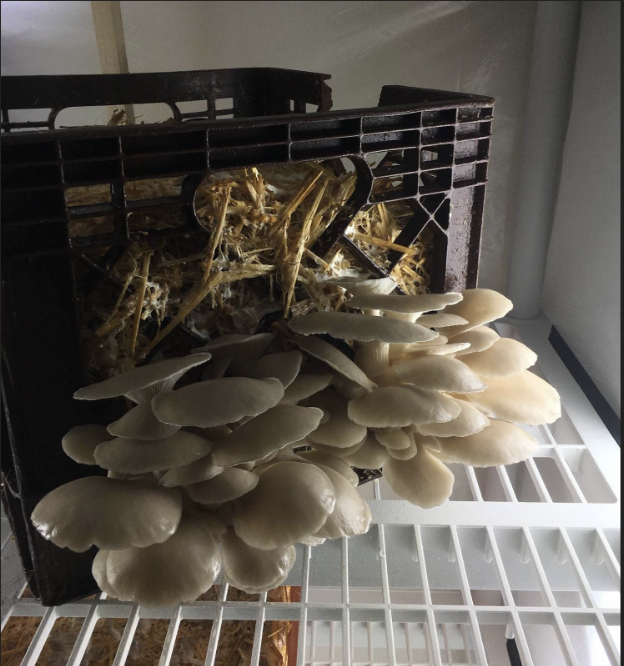
STEP 10: Harvest After 4-5 days your mushroom will have grown to full size. Oyster mushrooms caps will start to uncurl and once they are fully uncurled you will want to harvest by twisting off at the whole or cutting with a clean knife. If you wait longer the mushrooms will spread their spores and they also get tough and woody texture. They can still be used in soups and stock at this point but they are the best texture after fruiting for 4-5 days.
RELATED videos in the series:
Part 1: How Fungi Benefits the Soil
Part 2: Grow Mushrooms on Wood Chips in The Garden
Part 3: Grow Mushrooms in a Straw Bale
Part 4: Grow Mushrooms in Containers
Part 5: Grow Mushrooms on Logs
Part 6: Grow Mushrooms using Trench Composting Method